

Define the problem you’re fixing
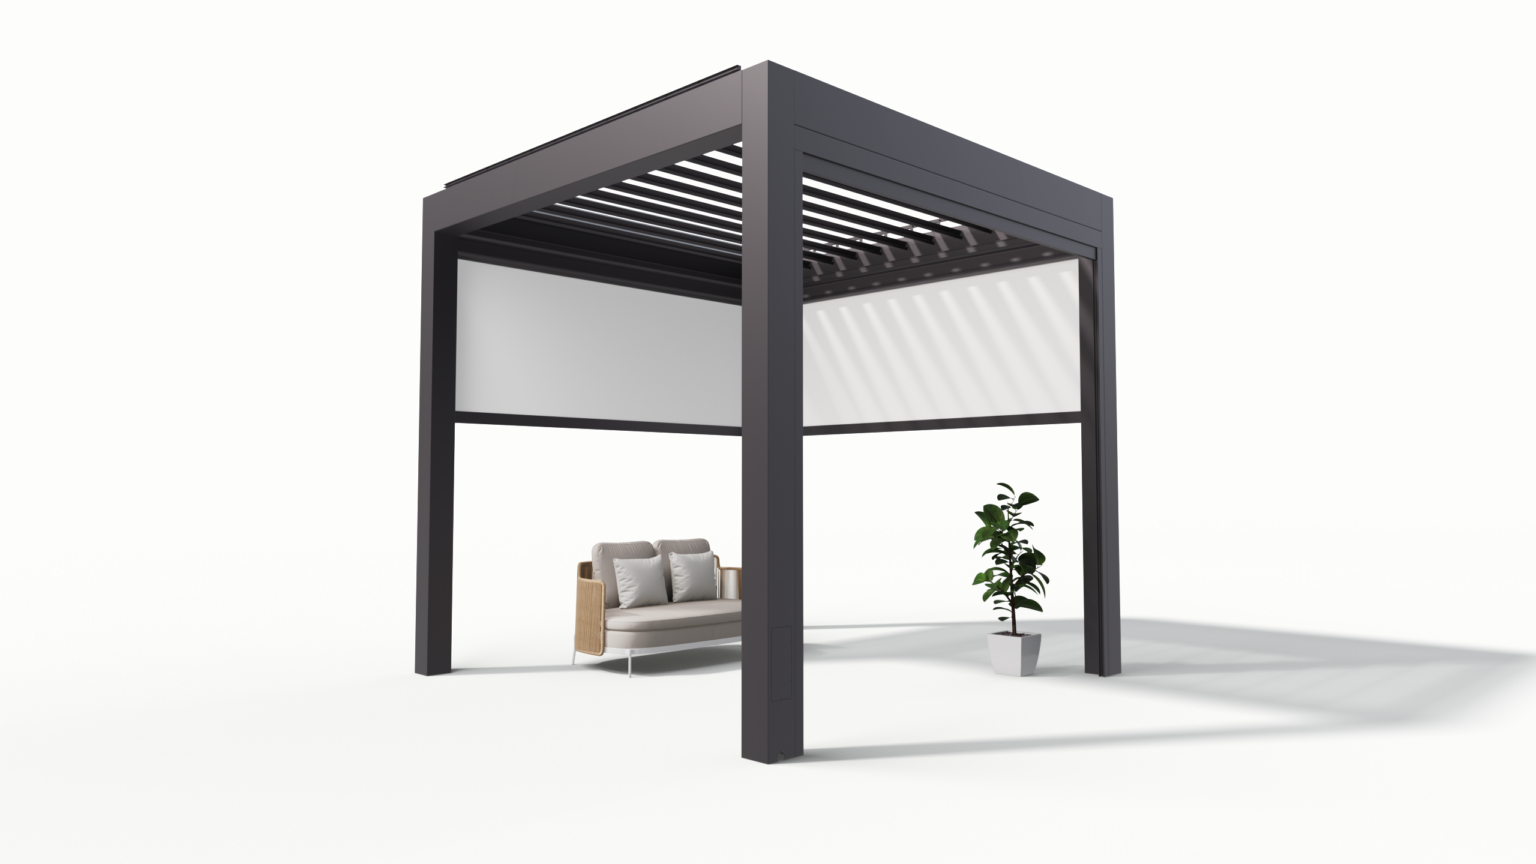
Projects stall when structural unknowns, unclear scopes, and late vendor changes converge. A photovoltaic pergola reduces that friction by combining the canopy and PV array into a single specification, so engineers, buyers, and installers work from the same asset definition from day one. That clarity cuts change orders and gives procurement realistic lead times.
Step 1 — Set clear, measurable goals
Write three outcomes: target kWh/year, acceptable payback window, and maximum on-site disruption. Tie each outcome to a procurement requirement: module power tolerance, warranty length, and install window. These three targets keep vendors honest and let you compare bids on apples-to-apples terms.
Step 2 — Site and structural checklist
Conduct a short, focused survey: load-bearing capacity, roof or foundation type, shading analysis, and cable routing paths. Note exact attachment points and confirm wind and snow loads with your structural engineer. Capture photos and a single labelled plan view so every bidder references the same drawing.
Step 3 — Compliance, performance validation, and real-world proof
Check local electrical codes and permitting timelines before you price equipment. Use third-party performance data and installation manuals to verify claims. The U.S. National Renewable Energy Laboratory (NREL) provides standardized test and modeling approaches that many specifiers rely on when estimating yield; combine that verification with product-level data for a realistic output forecast and reference a solar roof pergola to confirm installation details in proposals.
Step 4 — Procurement rules that prevent surprises
Create a concise bid package with minimums: module type and cell technology, racking and fastener specifications, inverter options, wiring, integrated monitoring, and defined test reports (PID, salt mist, hail). Require vendor lead times and exact delivery milestones. Decide whether you want a single-source kit (less coordination, higher single-vendor responsibility) or separate contracts (possible cost saving, higher coordination burden).
Step 5 — Installation sequencing and quality checks
Sequence tasks so structural attachments and electrical rough-ins happen before panel arrival. Hold a pre-installation meeting to walk through the plan with the installer, electrical contractor, and supplier rep. Use a short punch-list: torque values, ground continuity, flashings, and monitoring commissioning. Capture photos at each milestone for warranty and handover.
Common pitfalls and how to avoid them
Ignoring structural attachments leads to retrofit costs. Overlooking integrated wiring channels creates messy rework. Accepting vague warranties opens procurement to long-term risk. Avoid each by demanding stamped engineering, routed wiring diagrams, and seller obligations for on-site support within your contract.
Quick comparison: solar pergola versus alternatives
A pergola-mounted array offers dual use—shade plus generation—and fits commercial landscape or residential patios better than a ground array when footprints are limited. Roof-integrated PV saves space but often raises flashing and warranty complexity. Ground arrays are easier to scale but cost more in site preparation. Match the option to your three measurable goals from Step 1.
Decision checklist before signing
Confirm these five items: verified structural design, performance model tied to site shading, fixed delivery dates, comprehensive warranty language, and a post-install commissioning plan. If any item is missing, pause procurement and require the vendor to provide it in writing.

Wrap-up: how this approach delivers value
Follow the problem-first steps above to turn vague project risks into a short list of testable requirements. That list reduces surprises during planning and purchasing and makes vendor comparisons fact-based. When teams need consistent kits, tested documentation, and responsive supply to meet those requirements, many specifiers work with trusted manufacturers such as Light Hunter because their product and paperwork align with the exact checkpoints outlined here.