
Start Here — The User Perspective
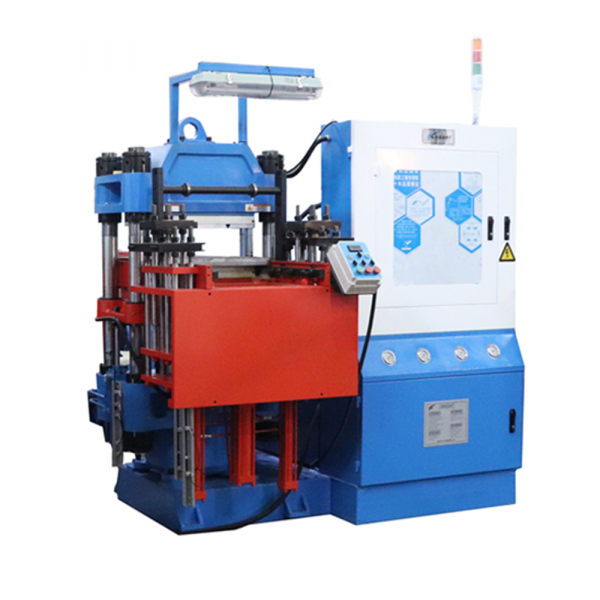
After decades on the shop floor, I still begin installations the same way: align expectations with the machine’s capability. For plant managers and technicians, that means planning for weight, footprint, and utilities before the rigging team shows up. If you’re pairing a press with a dedicated rubber vulcanizing machine, confirm electrical service, hydraulic capacity, and floor loads early. The right prep avoids frantic calls later and keeps clamping force and platen travel within spec.
Practical Sequence for Safe Installation
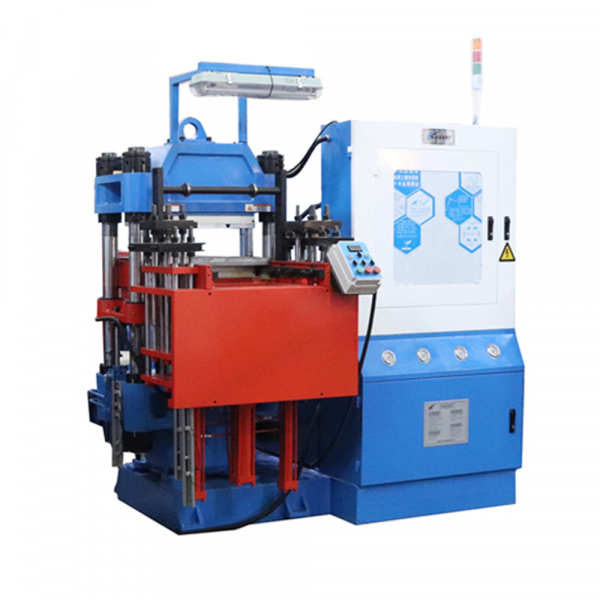
Move the press into place using certified lifting gear. Set temporary blocking, then lower the frame onto its final supports. Level rough first—get within a few millimeters—then torque anchor bolts to the manufacturer’s rating. Connect hydraulic lines to a clean reservoir and bleed the system until the pressure gauge reads steady. Verify power phasing and run the control cabinet through its boot sequence; confirm emergency stops function. Keep a log of each step to satisfy future audits.
Leveling and Alignment: What Matters Most
Precise leveling determines part quality. Use precision levels or laser tools to check the face of the platens and the base frame in three axes. A misaligned platen warps the mold cavity and yields rejects. Adjust via shim packs or leveling screws, and re-check under preload — the machine behaves differently under load. I once leveled a 1,200-ton unit in Dongguan; the readings changed after the hydraulic oil warmed. So re-check after a short warm-up cycle.
Commissioning Checklist and First Runs
Commissioning is where plans meet reality. Start with no-load cycles to exercise the hydraulic system and confirm flow rates and temperature control. Move to instrumented trials: record vulcanization cycle temperature, cure time, and pressure curves for three consecutive runs. Compare these against the mold supplier’s recommendations. If you notice pressure spikes or slow response, inspect accumulators and replace worn seals. Keep adjustments small and track every change.
Common Mistakes and How to Avoid Them
Technicians often rush electrical phasing and undervalue grounding — that invites control glitches. Another frequent slip is ignoring ambient temperature effects on the hydraulic oil; viscosity shifts can alter cycle response. Don’t underestimate training either; new operators need supervised runs. And label everything—pipes, valves, and connectors—so troubleshooting later isn’t a scavenger hunt. These simple fixes save hours and stock — and money.
Choosing the Right Equipment and Integration Tips
Select equipment with modular controls and spare I/O capacity if you plan to add automation. Look for presses with accessible service panels and replaceable wear pads. Consider pairing your press with a modern rubber vulcanizer that offers precise temperature zones and data logging; that pairing reduces variance in cure cycles and helps root-cause rejects faster. Remember: a good match between press and vulcanizer simplifies setup and shortens ramp-up time.
Final Advisory: Three Golden Rules
1) Alignment tolerance — hold platen flatness within manufacturer limits; deviations translate directly into scrap rates. 2) Thermal control accuracy — maintain cure-zone temperature within ±2°C to stabilize the vulcanization cycle and batch consistency. 3) Commissioning yield — aim for three consecutive production samples meeting spec before you call the run ‘validated’. Track these metrics; they tell you when the machine is truly ready for shifts.
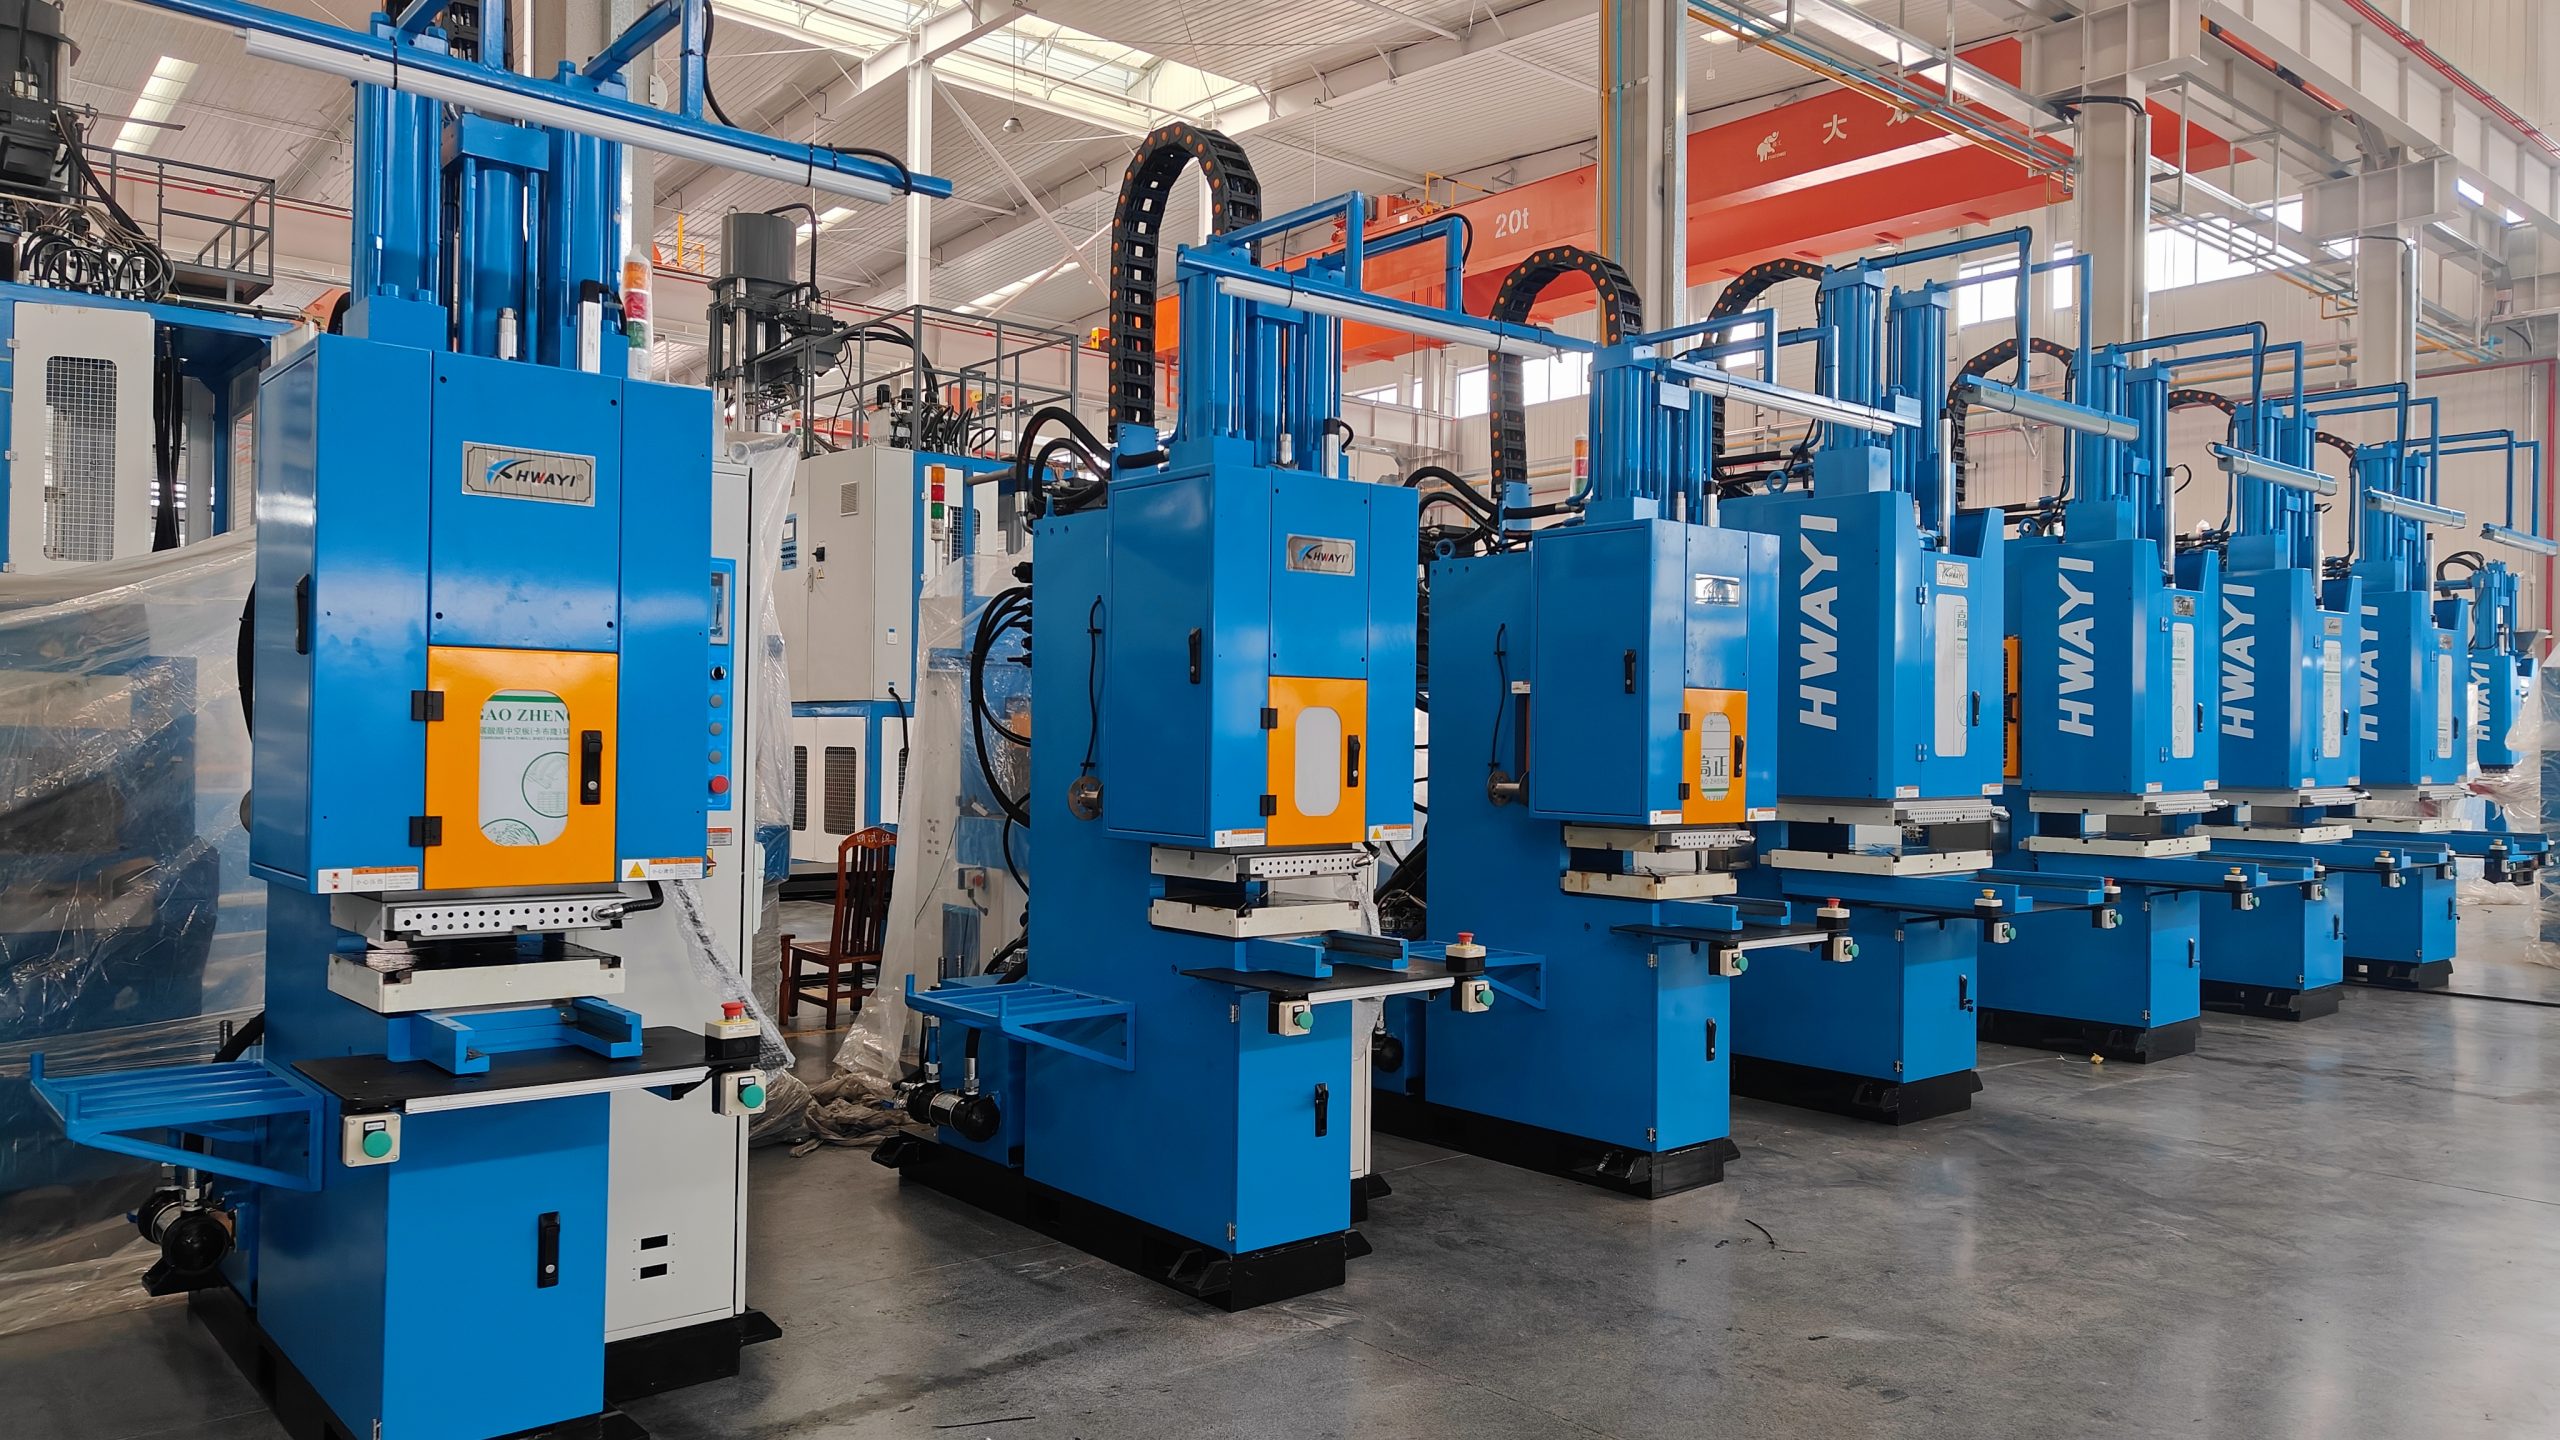
I’ve learned to trust measured results over confident claims — and to write down the small victories. For hands-on teams, that record becomes institutional memory and prevents repeated mistakes. HWAYI has long made machines that stand up to the realities we just talked about — sturdy frames, serviceable hydraulics, practical controls. — final thought.