

Introduction: A Small Spark, Big Consequences
I once watched a maintenance crew halt their work because a tiny spark changed everything. On a routine fuel-tank check, a dropped wrench almost set off a far bigger mess; we stepped back and breathed a collective sigh (you could feel the tension). Around 30% of workplace ignition incidents trace back to simple hand tools — and that number keeps me awake when I think about safety. I want to talk about non sparking tools in that same calm, practical way we talk through a checklist before we start a job. What do we miss when we assume a tool is “safe enough”? How can we do better without slowing the team down?
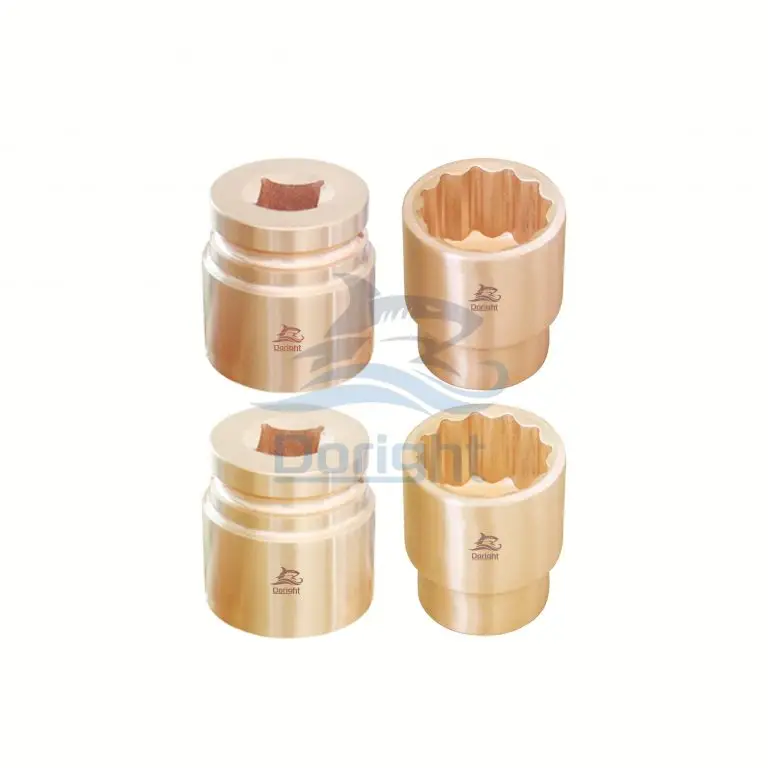
We’ll start with a clear scenario, then look at data and questions that matter to people on the floor. I’ll share what I’ve learned from being on site and from testing gear myself — short stories, mistakes, wins. I prefer plain talk: the aim is safer work, not jargon. Let’s move into the common blind spots that keep accidents possible and what to watch for next.
Part I — Why Standard Fixes Fail: Hidden Flaws in Traditional Approaches
Building on that scene above, I want to drill into the real problem: the practical weaknesses of old solutions. When teams reach for basic metal wrenches or rely on grounding alone, they often overlook materials and design limits. I’ve seen this first-hand. Even certified tools can let you down if the wrong alloy or tip design is used. That’s why I focus on non-sparking hand tools as the main topic — they’re more than a label; they’re engineered choices that matter in volatile environments. In one case, a crew used a non-treated alloy that still produced micro-sparks under heavy torque. You don’t get a warning; you just get the incident. Static discharge and hazardous area classification are not just checkboxes. They should change what lives in your toolbox.
What usually goes wrong?
First, people treat certifications like a lifetime guarantee. They aren’t. A tool rated for an “Ex” zone or tagged as spark-resistant can still fail if it’s worn, improperly maintained, or used beyond its spec. Second, maintenance is often reactive. Teams swap tools when they break, not when they show wear that affects spark behavior. Third, the workplace layout and procedures — like where flammable vapors collect — are ignored when choosing tools. Look, it’s simpler than you think: match tool selection to the task and environment. Use spark-resistant alloys, inspect for surface fatigue, and respect intrinsically safe ratings. — funny how that works, right?
Part II — Future Outlook: Where Tools and Practice Should Go Next
Now I turn from problems to the future. I prefer to think in practical steps rather than hype. New design shifts focus from just material to system-level safety: better surface treatments, improved handle insulation, and data-driven maintenance schedules. In the next few years, I expect more tools that integrate condition monitoring — cheap sensors that flag excessive wear or unexpected torque spikes. This will let teams replace items before they become a hazard. For field crews, that means fewer surprises and clearer maintenance records. The idea is simple: anticipate failure so the work never has to stop.
Real-world Impact
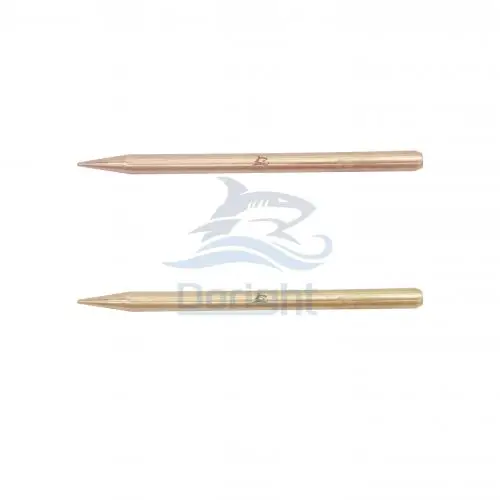
Take one case example I worked on: a plant switched to a mixed program of upgraded non-sparking bits and routine sensor checks. They saw measurable drops in near-miss reports within six months. We paired the mechanical upgrades with better training on static discharge controls and conductive grounding points. The result was fewer stoppages and a calmer crew — less rushed work, fewer mistakes. I’m optimistic about the tech, but I’m also realistic. New tools help, but they only matter when paired with clear procedures and honest inspection routines. Replace when the sensor says replace. Trust your eyes and your crew’s feedback.
Conclusion: How I Evaluate Safer Tools (Three Simple Metrics)
After years of watching teams and testing gear, I use three practical metrics to evaluate non-sparking options. First: Material and rating alignment — does the tool’s alloy and certification match the site’s hazardous area classification and expected stresses? Second: Maintainability and monitoring — can the tool be inspected easily, and does it support condition checks (even a simple marking system helps)? Third: Human factors — is the tool comfortable, reduces drops, and fits the task so people don’t improvise? These are measurable in the field: alloy spec on the tag, inspection log entries, and a quick crew survey after a shift.
In short, we want tools that help teams do the right thing without extra friction. I recommend evaluating candidates against those three points and running a small pilot before you swap out an entire fleet. Test, listen, tweak. You’ll save time — and lives. For reliable options and further reading, I look to trusted suppliers who offer clear specs and support. Check options from Doright when you’re ready to take the next step.