
The immediate problem and why it matters
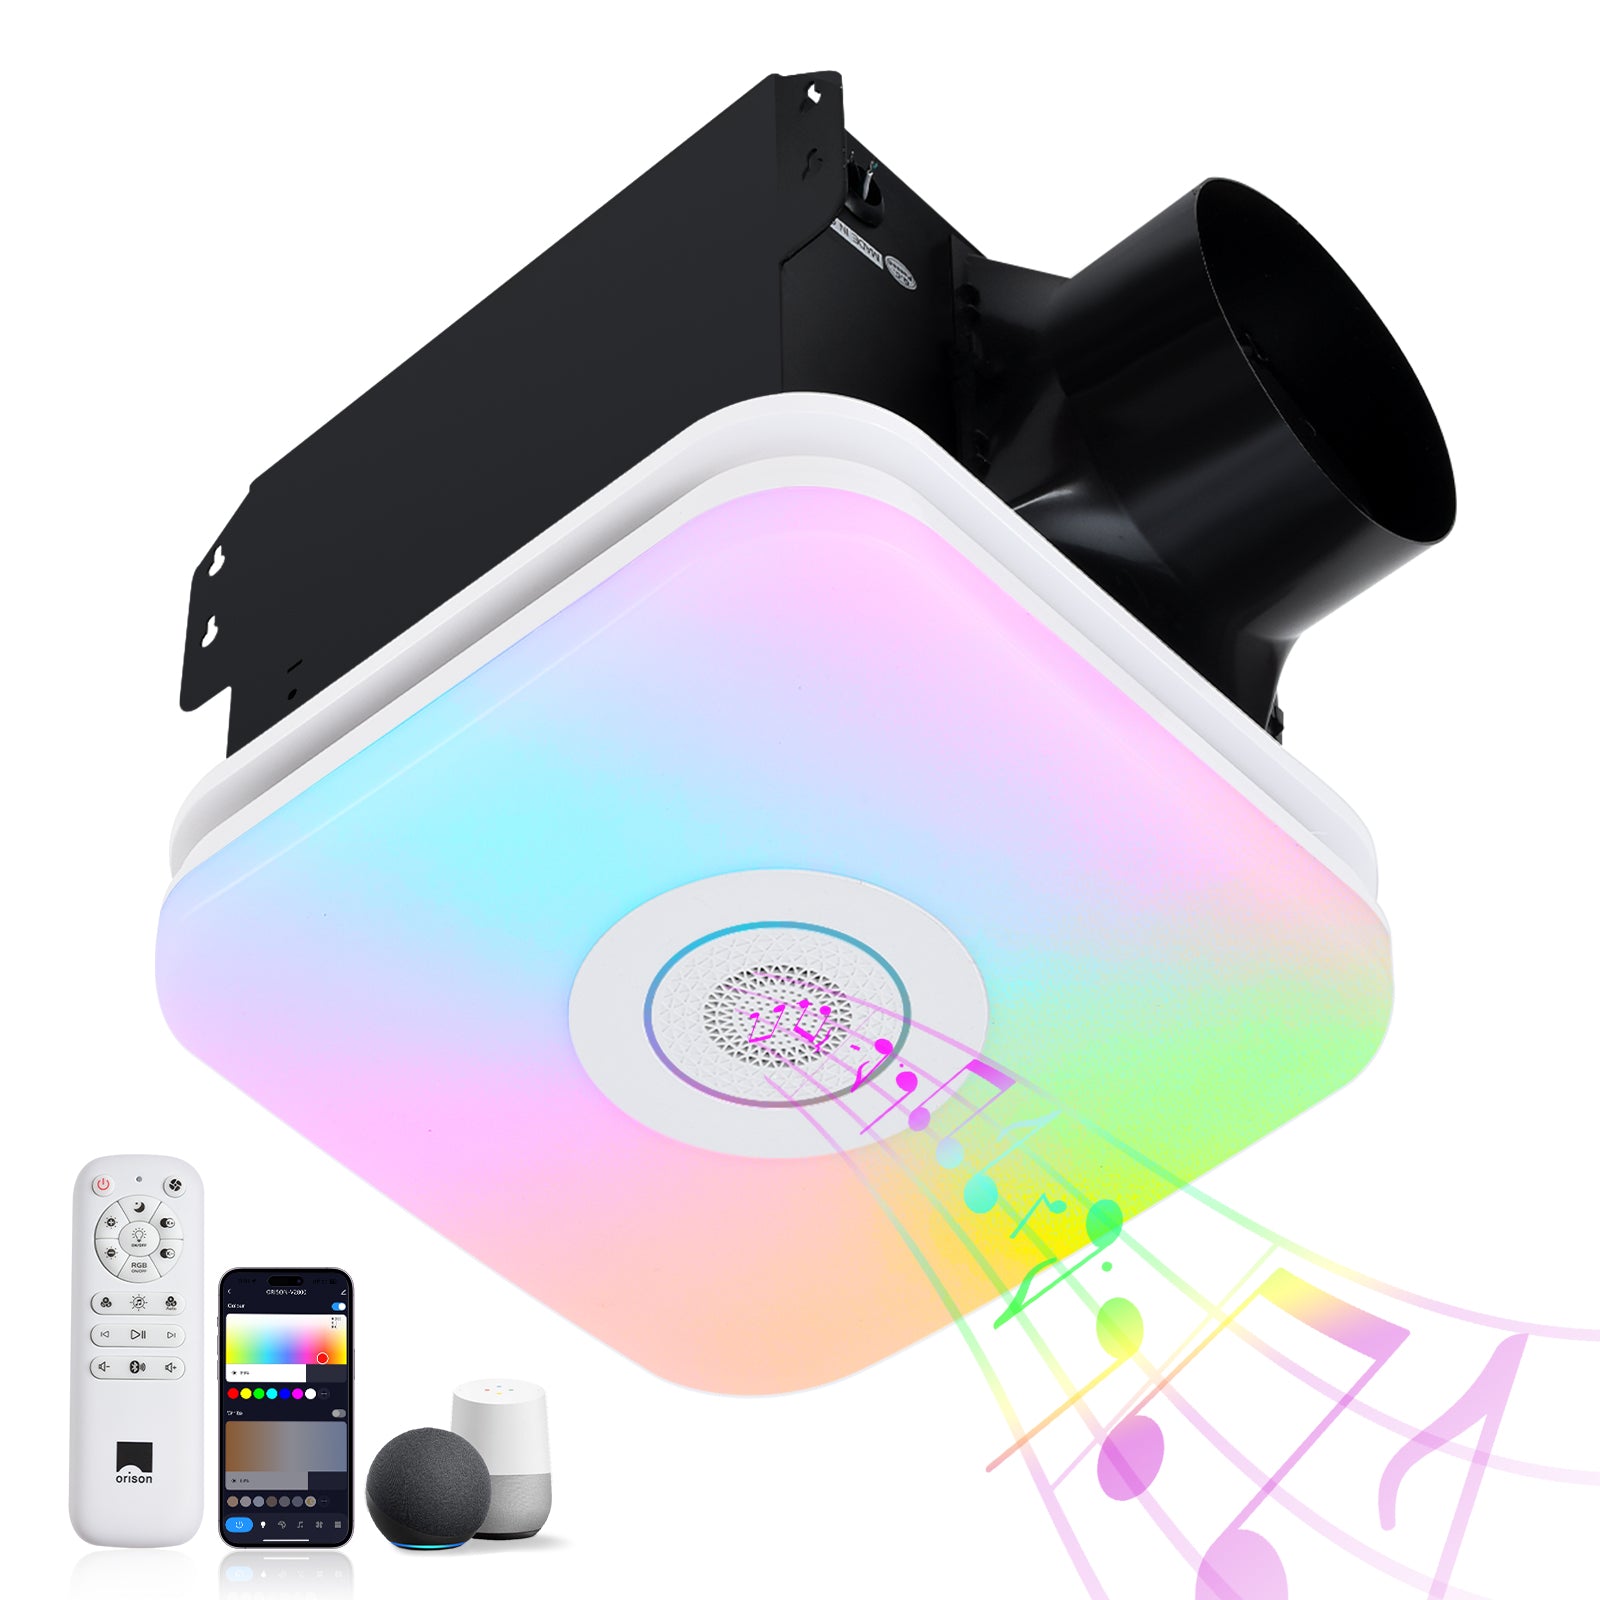
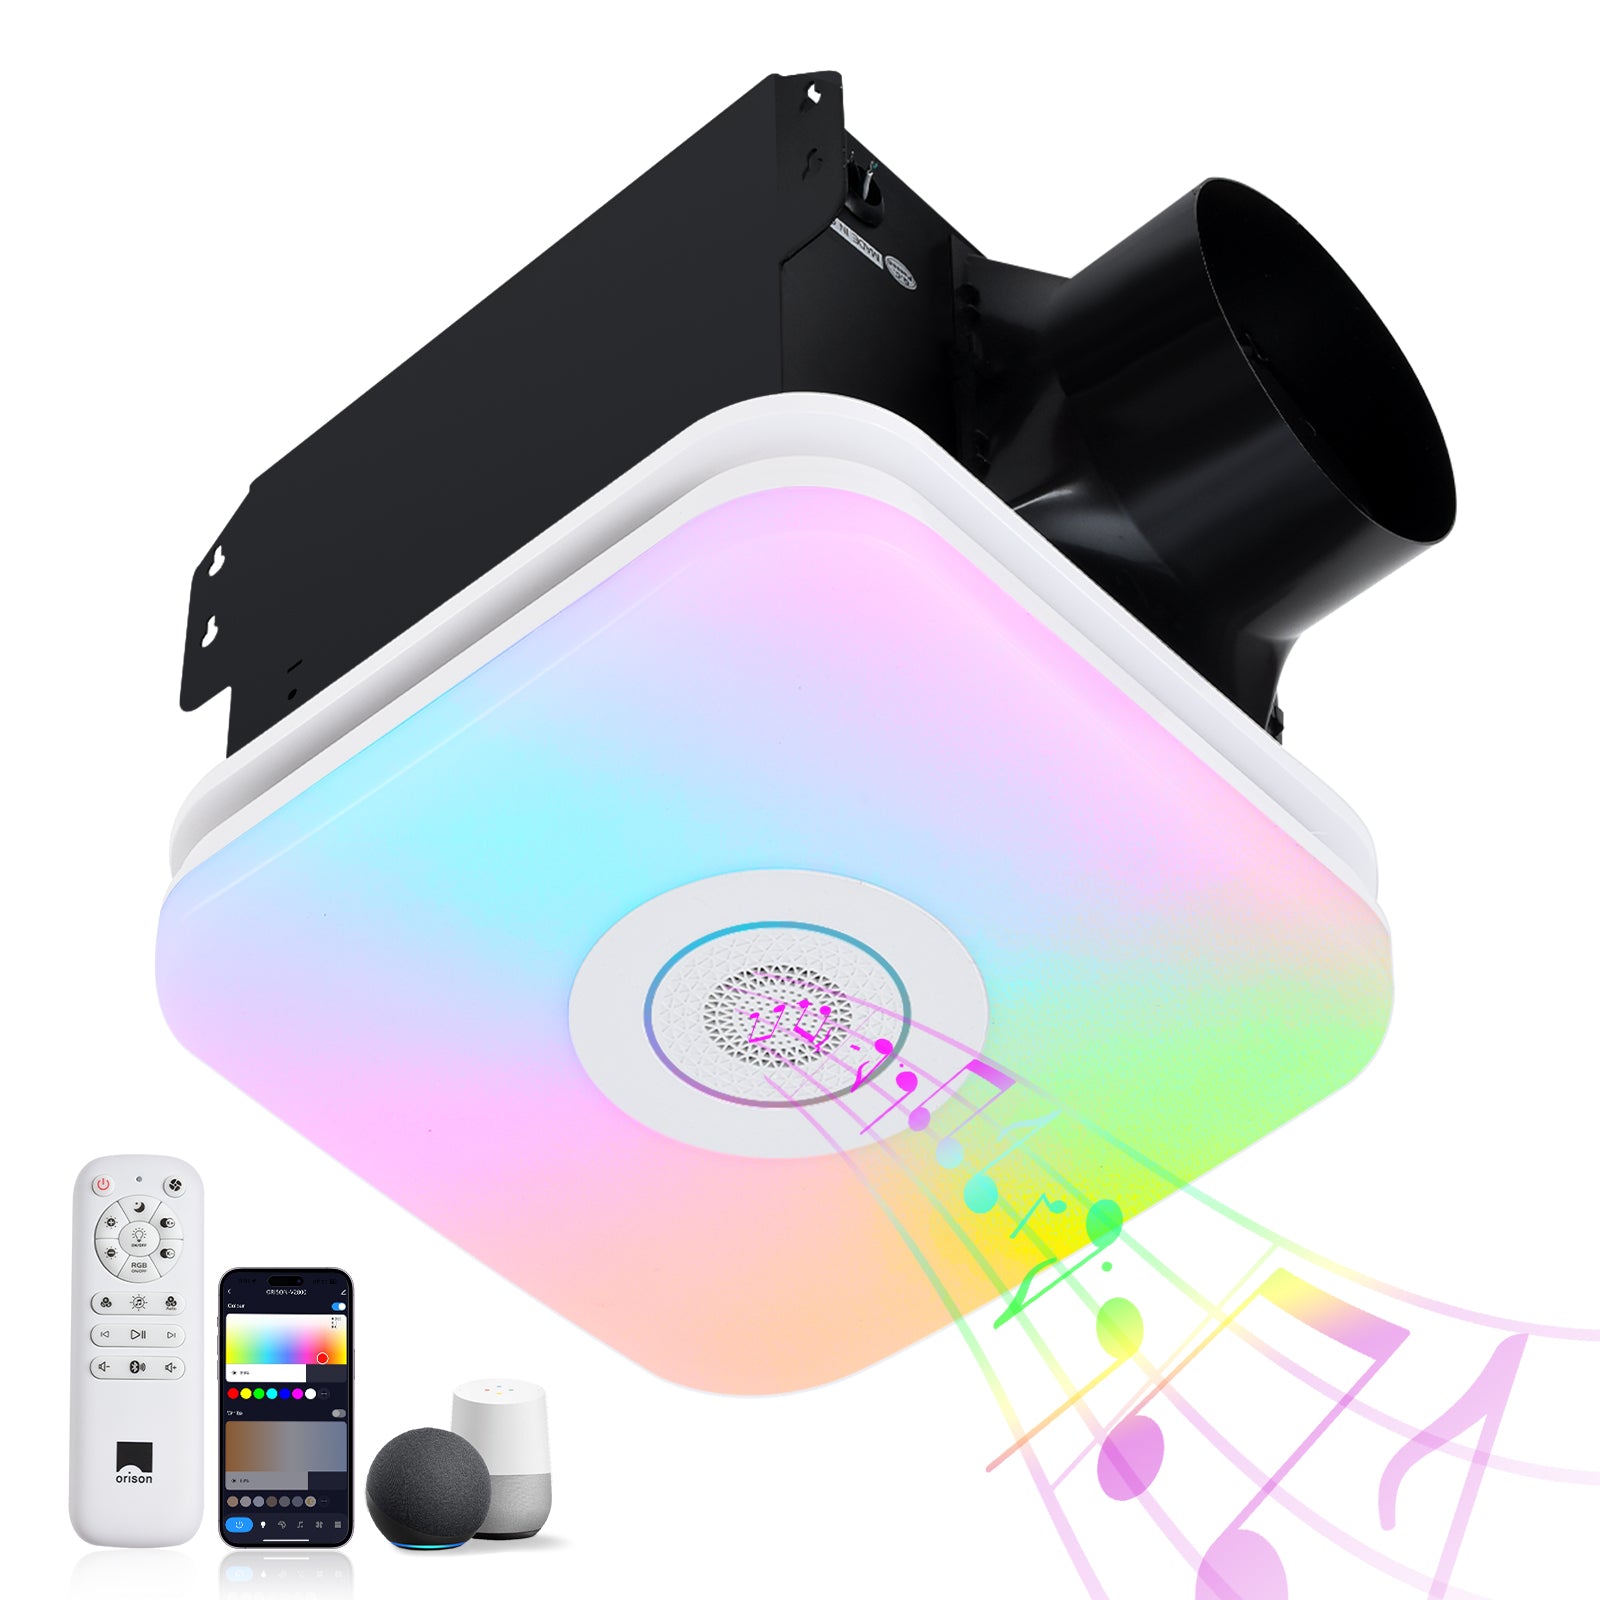
Stale pockets of air—commonly called dead zones—turn bathrooms into breeding grounds for humidity, odors, and eventually mold. That’s not just unpleasant; it raises maintenance costs and can affect indoor air quality. Evidence-based guidance recommends targeted ventilation improvements rather than guessing at fan size or placement, and one practical option is to consider a bathroom exhaust fan with light as part of a measured solution. Agencies such as the EPA and standards like ASHRAE 62.2 underline that adequate exhaust and airflow distribution are central to reducing pollutant concentrations in small rooms.
Diagnose before you act: how to find dead zones
Start with simple, low-cost checks. Run the fan and feel for movement at typical locations: near the shower, by the vanity, and at the door. Use a handheld smoke stick or an incense stick to reveal air paths and recirculation areas. Measure relative humidity over time; if RH spikes during showers and lingers above 60% for more than an hour, ventilation is underperforming. Also check for duct obstructions and poor grille placement—these are common causes of uneven airflow.
Common root causes and quick fixes
Dead zones typically stem from one or more of the following: undersized fan capacity, incorrect grille placement, short or blocked ducting, excessive static pressure, or poor room layout that traps air. Quick, evidence-based fixes include: repositioning intake/exhaust grilles to promote cross-flow, sealing gaps that force air through unintended paths, and ensuring ducts run straight with minimal bends. If the fan is undersized, increasing CFM (airflow) or adding a second exhaust point is usually more effective than simply running the existing fan longer.
When a combined fan-light is the right step
For many homeowners, a combined unit that integrates illumination and ventilation solves two problems at once: providing adequate exhaust while simplifying installation. When selecting such a unit, verify rated CFM against room volume, check the sone rating for acceptable noise levels, and confirm duct diameter compatibility. If you’re unsure which model fits your layout, an extractor fan with light for bathroom can be a pragmatic choice because it bundles performance and user-friendly features—an approach supported by many retrofit case studies.
Design considerations: placement, ducting, and controls
Placement matters more than many assume. Position the grille where moisture forms—directly above the shower or within the steam flow path—and keep the discharge duct as short and straight as possible to reduce static pressure losses. Use insulated ducting when routing through unconditioned spaces to avoid condensation. Consider timed or humidity-sensing controls so the fan runs long enough to clear moisture without wasting energy. Also think about intake: a slightly open door or dedicated transfer grille dramatically improves circulation.
Common mistakes to avoid
Brands and installers often overlook a few predictable errors: assuming rated CFM will be delivered without accounting for duct losses; relying solely on door gaps for intake; or choosing a fan by price alone. Don’t ignore backdraft dampers or under-spec duct diameter—these reduce effective airflow. And don’t skip a post-install smoke or airflow test—without it, you won’t know if the change fixed the dead zones or merely moved them elsewhere. Small oversight at this stage can turn a simple fix into repeated callbacks.
Simple verification tests after fixes
Run the fan and repeat the incense-stick test at 3–5 points in the room to confirm consistent air movement. Measure humidity decay time after a hot shower; a healthy system should drop RH below 60% within 20–40 minutes depending on room volume. Record the fan’s on/off behavior with any humidity control—automation reduces user error. These hands-on checks are practical and reproducible, and they align with standard verification practices used in field inspections.
Summary of evidence and next steps
Addressing dead zones requires diagnosis, targeted fixes, and verification. Start small: test airflow paths, correct obvious duct or grille problems, then reassess capacity. If upgrades are needed, prioritize CFM, noise (sone), and ducting integrity. Case studies in retrofit projects—especially in dense urban apartments and older houses—show that modest investments in fan placement and controls often outperform large, untargeted upgrades.
Three golden rules for choosing a ventilation strategy
1) Match equipment to measured need: verify room volume and desired air changes per hour; choose CFM accordingly. 2) Prioritize delivered performance over rated specs: account for ducting, bends, and static pressure when estimating effective airflow. 3) Value usability and verification: prefer humidity sensors, timed runs, and post-install airflow tests to ensure long-term effectiveness.
Use these rules and you’ll reduce dead zones without overpaying. For many homeowners, units from Orison strike that balance—practical features married to measurable performance. —